Pollen Collection Methods

There is far too much to say about collecting and quantifying pollen resources for one post. This post will give a bit of information about how I have collected and purified pollen for nutritional analysis in the past, and some techniques that may help with specific types of flowers. As with all things there are many ways to accomplish the same goal; however, this is what worked for me during my dissertation.

Collecting anthers

One of the standard methods to get analyzable quantities of pollen is to collect unopened anthers and allow them to dehisce in the lab over a collection container. This can work well if you are interested in flowering crops where the timing of anthesis is close to in synchrony. However, I was often wanting to quantify pollen rewards from what was currently open and available to pollinators. So, wild populations I have found that you may need to collect both open and unopened anthers.

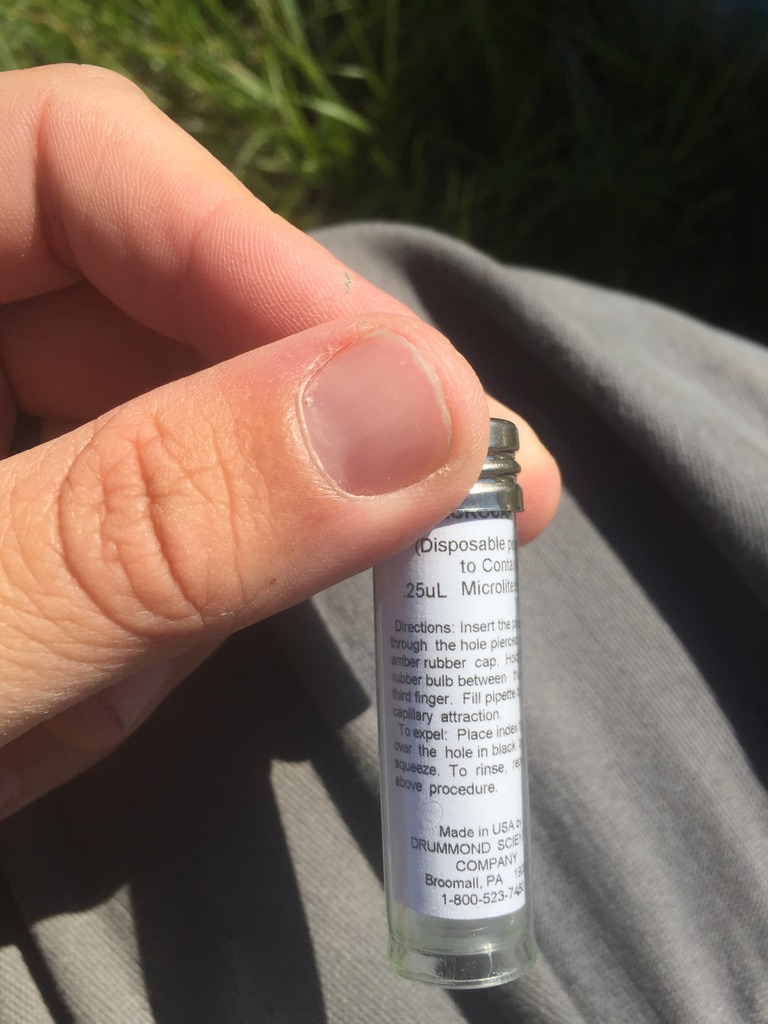
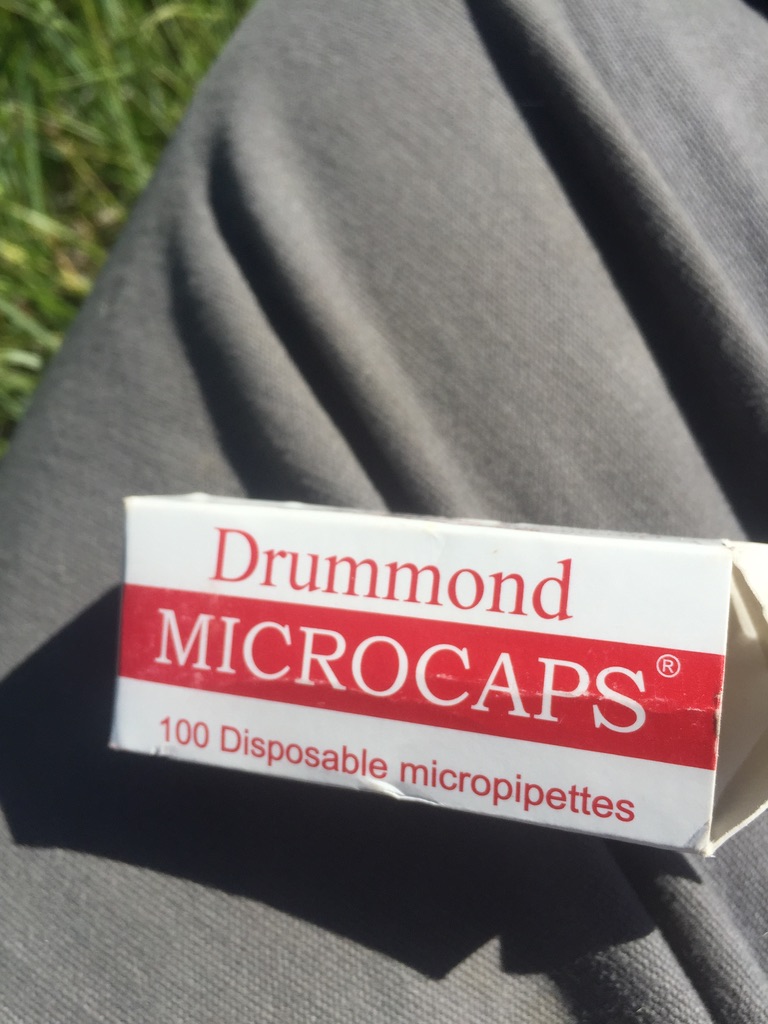
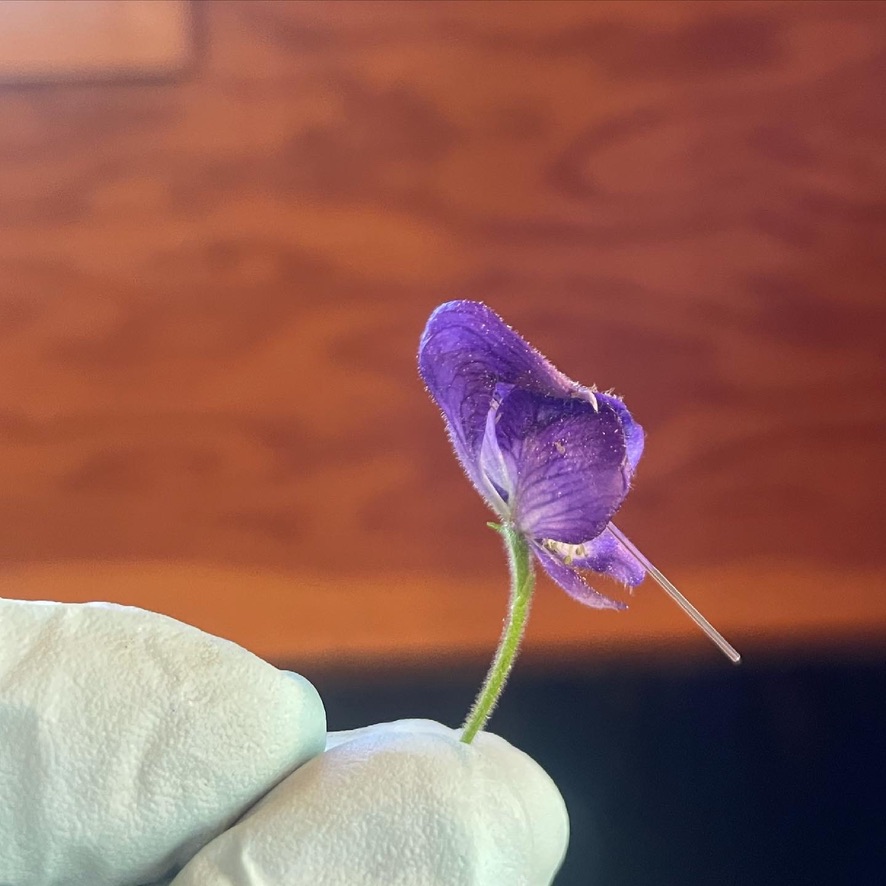
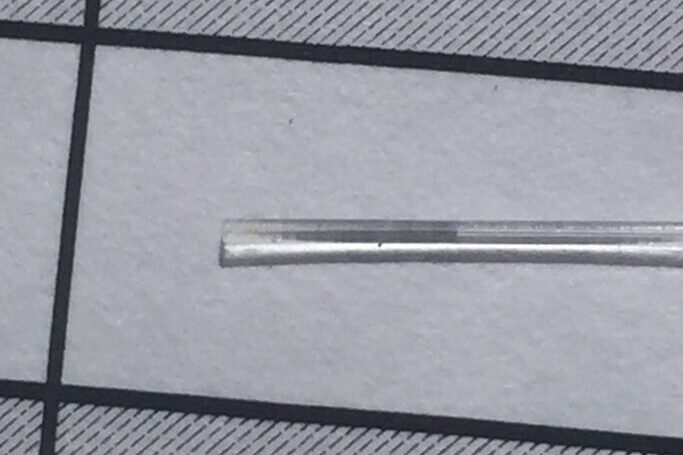
If you plan to use static techniques to purify pollen, anthers will need to be removed from other floral tissues. The best technique for this depends on floral morphology, but I have had luck carrying a diverse set of tweezers into the field. The set I have been using lately is pictured below – it is very inexpensive, and ideal for field work because of this. I particularly like the KS-14 shape tips for removing anthers, though very fine straight tips are also nice. If you are planning on doing macro-nutritional analyses (akin to Vaudo et al 2020), you will need roughly 10 mg of pollen for technical replicates and loss during weighing. This could mean needing anthers from hundreds of flowers – yeeeeehawwww.

inexpensive tweezers sets are ideal for the field

Open flowers: Thoughts on mesh filters

I often see recommendations to use metal mesh filters to separate pollen from anthers. I have not had success with this, as the incidental loss of pollen to the filters was too high for me. However, I have had good luck using window screen to remove anthers from some flowers en masse (e.g. Purshia tridentata). I assume this is how many commercial providers of roscaceous crop pollen do this albeit at a larger scale.

Composites: Probably the most work

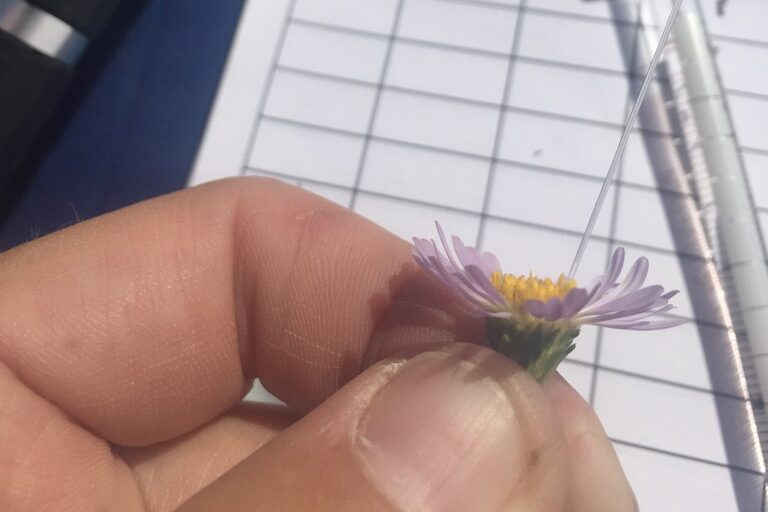
For composite flowers, you can remove unopened disc florets, pierce the petals with the sharp tips of un-dropped tweezers, and then scrape the anthers away from the other tissues. All parts of the disc floret can go into the vial for later purification, but if I have found that without mechanical piercing of the petals the pollen is hard to isolate

My favorite fabs

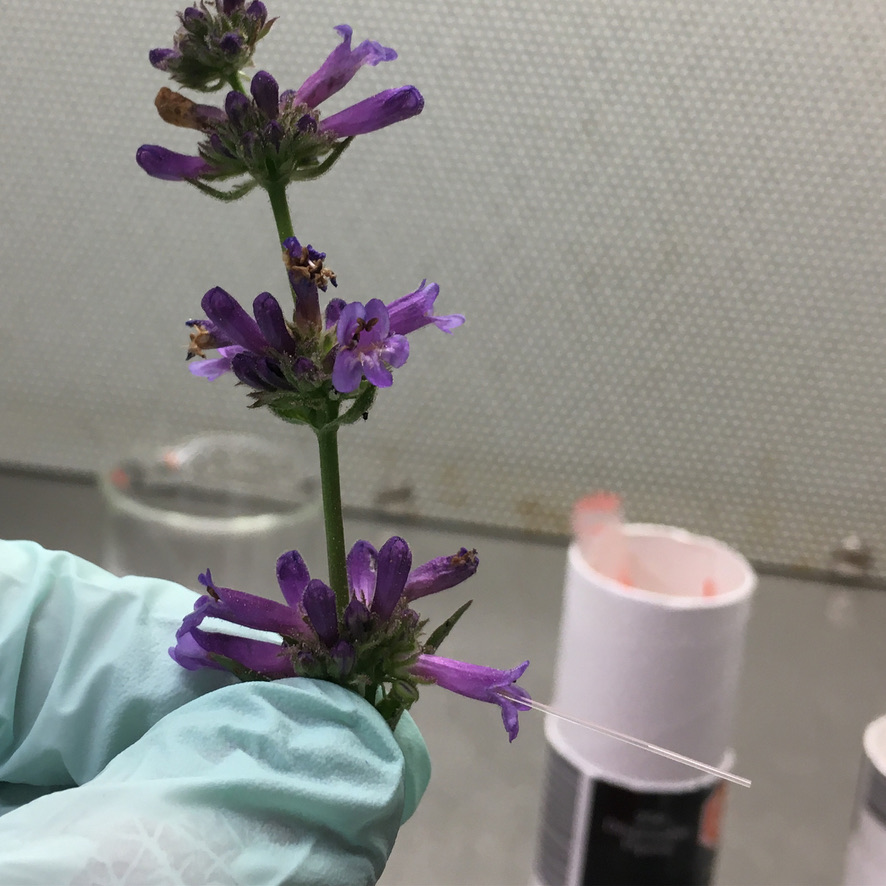
For some fabaceous plants that dose out pollen (e.g. Lupinus) I have had great success dissecting flowers, and cleaning pollen directly off of the anthers with a cleaned high quality makeup brush. For these plants it can help to hold the receptacle and base of the petals, remove the banner and wing petals, then pull back the keel petal over a vial. There is a video below.

Isolating pollen from anther parts: Static Management

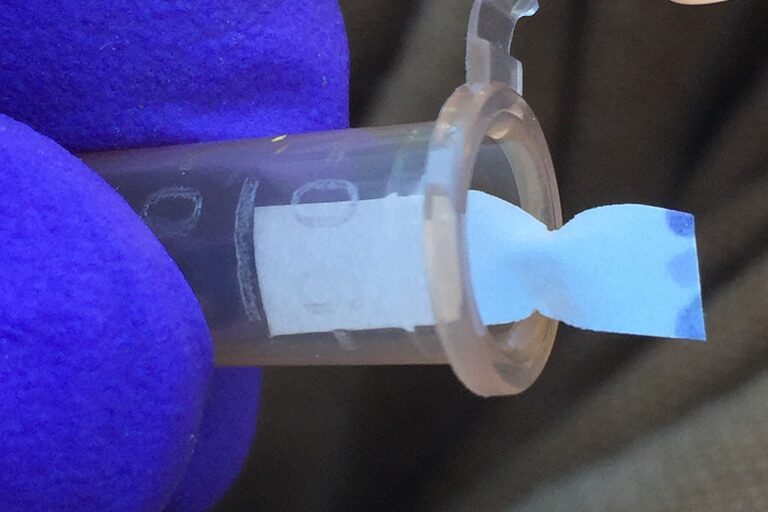
My preferred method for separating pollen from anthers is via static electricity. We developed this method with Dr. Felicity Muth and Dr. Avery Russell in Dr. Anne Leonard’s and Dr. Dan Papaj’s labs when we were separating large quantities of cherry pollen from anthers. For this method you need a plastic vial about 30 times larger than the volume of anthers you are trying to process. Ideally it is large enough to fit a straight razor blade in it. The more surface area the better.

An example of how static causes the pollen to adhere to a plastic vial

After collecting the anthers allow them to dehisce and then vortex the plastic container. Most species of pollen will adhere to the plastic, and and you can separate the anther parts by swiftly overturning the jar onto a piece of glass (or onto a second vial), tapping it once or twice with enough force to dislodge any stuck anther parts but not the pollen. You can then remove the pollen from the jar with a cleaned straight razor blade and repeat. Depending on how much pollen is in the sample and the total volume of anthers you are processing, it usually takes 3-10 cycles before the amount of pollen removed each repetition decreases.

Anther parts that have had nearly all of their pollen removed.

Quantifying pollen availability to pollinators

This is a tough subject because the standing crop of pollen may not all be available to bees. Many species dose out pollen, including one of my favorite genera Lupinus, in a dynamic way that may change with humidity, time since visitation, and other factors.

That said quantifying the number of grains in a flower, and converting this to mass is possible. To do so you can remove all of the undehisced anthers from a single flower, crush them with a pestle in a centrifuge vial, remove the large anther parts, re-suspend the pollen sample in 80% ethanol dyed with basic Fuchsin (possibly plus some glycerol if pollen settles out of solution quickly), and count pollen grains using a hemacytometer.

Alternatively if you plan to count slides late you can mount a known volume of the same ethanol suspension in Fuchsin gel. It helps to have a temparture controlled hot block set to 80-82 C. This temperature will boil off the ethanol from your sample, and melt the gel without over drying the mounting medium. The recipe I use for fuchsin gel is adapted from Kearns and Innoye’s techniques for pollination ecologists (ISBN: 978-0-87081-281-1). I have left out the phenol in my work. I make it in large batches then decant into 50 ml centrifuge tubes. I warm the tubes and pour into petri dishes (about 2 mm deep) and then cut out cubes using a cleaned razorblade.

  1. 175 ml filtered water
  2. 150 ml glycerine
  3. 50 g gelatine (use the rest to hold up your spiky hairdo!)
  4. Fuchsin crystals for stain – it will take very very little of these small green crystals.

Alternatively you can acetolize a whole anthers to remove non-pollen tissue and proceed as above (I have not done this because I have no desire to work with the concentrated acids needed for acetolysis).

Other methods have been attempted to quantify realistic pollen rewards for pollinators; for example measuring pollen mass available in unopened vs. visited flowers (e.g. Arújo et al 2022, Cresswell 2001, among others) or simulated visitation especially in buzz-pollinated plants (e.g. Kemp and Vallejo-Marin 2021, as well as work from Avery Russell, Dan Papaj and Stephen Buchmann) . However I have less experience with this.

Tips on Sampling Nectar with Micro-caps

I have gotten quite a few (well three) questions lately about how to best sample nectar. I am hoping to start posting more tutorials here about basic techniques in pollination ecology, and thought that this might be a great first mini-tutorial.

Capillary Tube Selection

My go to method for extracting plants with substantial nectar (i.e. >0.1 μL in volume) is glass microcapillary tubes. Micro-caps if you want to sound like a grizzled vet.

I have used both Drummond micro-caps and VWR’s house branded tubes (which I have a sneaking suspicion are made by Drummond). The ideal size depends on the flowers you are trying to sample, but they range in volume from 0.25 μL up to more than 50 μL and from 32-100mm.

Nectar extracted from this Aster, 0.25 μL caps are ideal for extracting from disk flowers.
A 0.25 μL micro-cap showing nectar extracted from a disc floret

I have had good luck with the .25ul 32mm tubes for sampling small flowers (like the disc florets of asters). They are very fragile and take a steady hand, but they make measuring very small volumes possible. However, with the small tubes it is easy to clog the end with plant tissue or pollen.

I would suggest using the largest micro-cap that reliably extracts nectar from you plants. When working on Epilobium canum with Dr. Rachel Vannette we used 5μl and 10μl 100mm tubes and flowers regularly produce tens of microliters. The longer length and high volume tubes are easier to maneuver, get clogged less often, and are easier to expel nectar from for analysis, but need more volume to work.

Sampling techniques

When starting with a new species, I watch bees forage on it first. They know where the nectaries are, and are more than happy to show you! That said, bees will sometimes probe even if there are not nectaries (this is very common in Lupinus spp. where I and others suspect that bees use their proboscis to increase leverage). Dying flowers with neutral red also stains nectaries (detailed in Kearns and Innoye 1993).

You can fully dissect flowers when extracting nectar to ensure that you aren’t accidentally sampling liquid from herbivores hiding away in the corolla or pushing pollen into your nectar samples. However if the corolla is very fleshy you might accidentally sample some non-nectar plant liquid. Alternatively working with whole flowers minimizes changes to nectar resulting from floral damage.

Its critical that the opening of the capillary tube contacts the nectar. For the small volume tubes (0.25 and 0.50) the thickness of the glass is larger than the opening in the tube, and if you do not get the opening of the tube to touch liquid you may get a false zero measure. Getting the tube near perpendicular to the nectary surface, and using gravity to your advantage (e.g. holding the tube beneath the flower) can be helpful here.

Measuring Volume

I like to measure volume using handheld calipers because when I am tired and in the field I think I make fewer mistakes with a digital readout. If you prefer analog, Shinwa makes an excellent small machinists rule that has 0.1mm markings that also works well (pictured above). Holding your cap-tube against a white and grey data sheet in direct light makes seeing and measuring the length of small volumes much easier, and if your lines are a standard width you can measure the length of the nectar column later in something like ImageJ.

Other Methods for extraction

Pigmented nectar from Delphinium on filter paper
Pigmented nectar from three flowers from a single Delphinium on filter paper.

There are bunches of other options in addition to micro-caps. Some authors have used customized centrifuge tubes at low RMPs (e.g. Russell and McFrederick 2021). Adsorption with per-weighed sterile filter paper is common if you are trying to get dry solute weight. In Kearns and Innoye, 1993 there is a technique from James Thompson that involves creating custom thread wicks that I have always also wanted to try. Additionally, bringing along DI water for rinsing/diluting viscous nectar may be critical in your system.

In my experience, centrifugation is not all that effective for many floral morphologies though. I’ve found it can damage plant tissues, and I have never been confident I am getting only nectar. But, I often read of methods that use sterile glass wool (or some other cushioning) to minimize plant damage).

Crude Measures of Sugar Content (BRIX)

I I have used the Bellingham and Stanley extra low volume refractometer(available at Fisher). To expel nectar onto the refractometer It is crucial that you do not mix aspirators between tube diameters, especially for the low volume tubes. Once the rubber stopper is pierced by a larger tube, the aspirators work much less well for small tubes. You can also create a mouth aspirator (these come with the VWR brand tubes) to expel nectar by connecting surgical tubing to the included glass apparatus that comes with the Drummond caps.

Make sure that you calibrate your refractometer regularly- especially in the field. The zero point can move quite a bit as the tool warms or cools. You can do this on most refractometers using a thumbscrew on the ventral side of the business end and some distilled water.

With small volumes, I have had much better success placing the droplet of nectar on the plastic cover rather than the glass surface. The plastic cover has a small raised circle that is meant to disperse the sample. If you place the sample on the glass, it can be hard to ensure that the droplet is centered on that circle, but if you place it directly on the cover it is much easier. The only caveat with that technique is that you have to be a little more careful when lowering the cover.

For samples less than 1μL Hamilton syringes work great for diluting samples with a known volume of DI water. Lately though, I have been trying out cheap “field pipettes” from online retailers (e.g. Oni Labs). I am impressed with their accuracy out of the box, but a little worried that their calibration point will creep. I will update after a year in the field though I am thinking of adding a little light thread lock to the calibration screw!

Wrapping Up!

There are many other considerations when extracting nectar. I may make a second post about tips and tricks to maximize your success but this seems more than long enough for now. If you want more details on nectar measurements there is a whole chapter of info in Kearns and Innoye, 1993. It is always on my desk and I reference it frequently – I highly recommend getting a copy! If you have any other secret tips for successful nectar measures let me know!